
We use affiliate links and may receive a small commission on purchases.
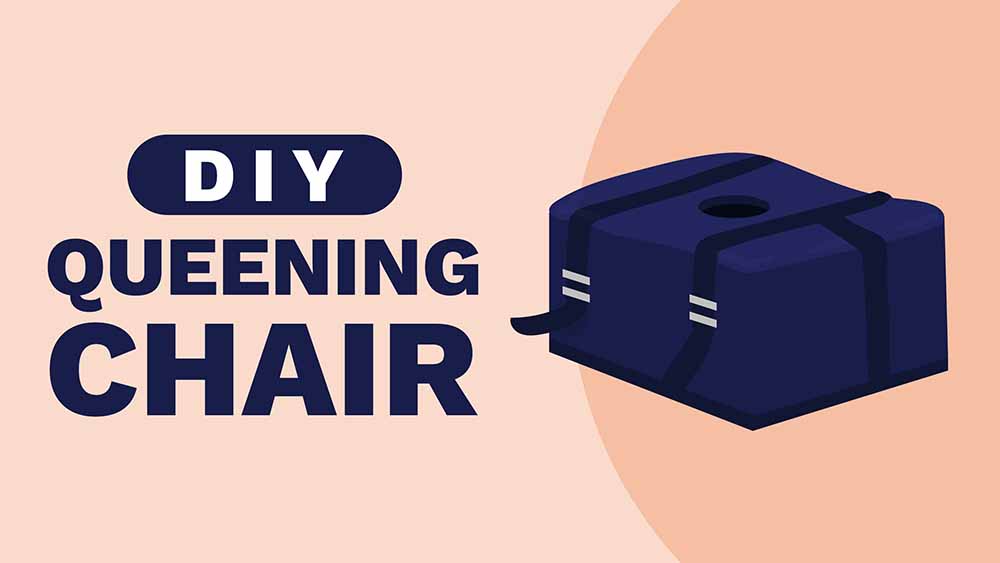
Every queen needs a throne, and a queening chair puts you in position for your devoted subject to pay you the homage that you deserve.
But if your treasury is feeling the pinch, you may be tempted to DIY a queening chair. Let’s think about that for a moment — it is true that a queening stool looks less intricate than a sex swing or other gear, but you’re trusting both your lady bits and your partner’s head and neck to this piece of furniture, so it needs to be well-designed, well-made, and reliable!
Instead, we recommend buying the Bondage Boutique Chair, which retails for $99.99 and we’re sharing our discount code AFF-MSTG10 for an extra 10% off. It’s basic, but it has everything that you need and nothing that you don’t (like splinters). However, if you still want to go the homegrown route, we’ll walk you through a few ideas that seem to have stood the test of time.
What Is a DIY Queening Chair?
A queening chair is a piece of sex furniture that is typically associated with BDSM or power dynamics, but like any gear, it’s just furniture and anyone can use it. It is a stool with an opening in the middle.

A person with a vulva sits (naked) on the stool with their pelvis over the opening and their partner lies under the stool, positioned to perform oral sex. The stool can have straps or restraints if desired.
A DIY queening chair is one that one or both partners have made themselves, either in an effort to be economical (we get it, in this economy) or to create a completely custom piece. We’d like to note that the tools and materials needed for these projects often approach or even exceed the purchase price of a commercially produced chair.
Is Making a Queening Chair Safe?
The answer to this depends on your own skill and the quality of the materials you are using to build the chair — but honestly, this is one of those questions that if you have to ask, the answer is probably “no.”

A queening chair needs to safely hold your body weight and stay balanced, which is more demanding than it might sound. It needs to be made with sturdy, body-safe materials and all connections need to be solid and stable.
We believe that it’s wisest to trust your safety to people who know what they are doing. Commercial sex toy/gear manufacturers make sure that every piece that comes out of their factory is safe. Most home workshops aren’t able to offer the same assurance when it comes to DIY BDSM toys.
The Best of What’s Out There
Our staff has spent hours reviewing various DIY queening chair projects, and for those who really want to take this on, we’re bringing you a few that we think are not likely to be disastrous. As with many of our other DIY articles, we credit Reddit’s r/BdsmDIY subreddit for ideas and commentary.
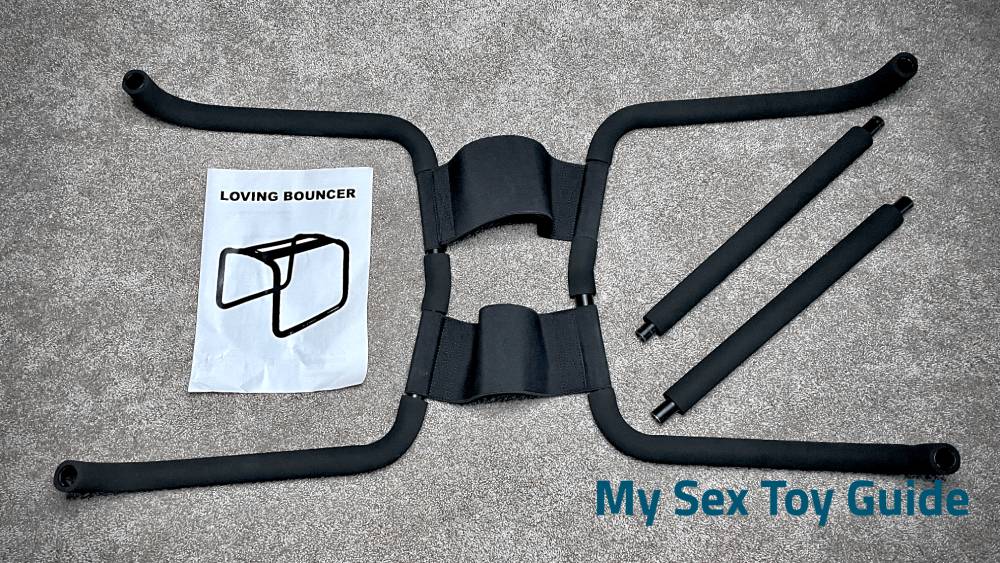
Again, we still think that it’s safest and wisest to go with one of the commercially produced options. There are many different styles so you’ll be sure to find one that suits you.
Also, note that most of these projects require tools and materials, as well as time and expertise, so you may very well end up spending as much or more on your homemade queening stool as you would simply ordering one of your choice.
1. Chair with Velcro Handcuffs
This project modifies a pre-built chair, so assuming that you start off with a sturdy chair, you are unlikely to run into issues with the chair portion of this queening stool. You can choose the color of the chair and of the seat cover to truly customize this stool; make sure that the cover you choose is easily washable (and the adhesive is waterproof), for obvious reasons.
There is an option to add handcuffs to restrain the subject if desired.
Materials Needed:
- Chair of your choice
- Lightweight scrap iron
- RV toilet seat
- Fake fur, leatherette, or other material of your choice
- Scrap plywood
- Hinges
- Bolts and screws
- Velcro handcuffs or other restraints, if desired
Step-by-Step Guide:
- Cut the legs of the chair to adjust the height so the queen is comfortable straddling the chair and the subject has enough room for their head and torso. Make sure that the chair is even and stable. (For people and chairs of average size, you’ll usually be cutting about 6”).
- Use scrap iron to connect the back two legs at the base for added stability.
- Remove the chair’s original seat.
- Cover an RV toilet seat with the fake fur or other material. Ensure that all edges are smooth and all surfaces are covered.
- Secure the fur-covered seat to the chair frame.
- Create a base of sturdy plywood.
- Use hinges to connect the angle iron at the rear to the plywood base so that the chair can recline backwards.
- Attach restraints or anchor points for restraints to the crossbar of the chair (if the chair has a crossbar) or to the base.
2. Wooden Chair
This project also starts with a pre-built chair so you can be confident in that part. You get to customize the rest; you can choose the height of the chair, the seat cover, the amount of cushioning, and more.
The original project does not include restraints, but it would be easy to add restraints or anchor points (like we did above) if desired.
Materials Needed:
- Chair, preferably wooden
- Pieces of 2”x8” or other thick wood
- Foam
- Fabric, preferably washable and waterproof
- Jigsaw
- Sandpaper
- Knife
- Adhesive that won’t melt foam
- Scissors
- Stapler and staples
- Long screws and/or bolts (and screwdriver and/or wrench)
- Gaff tape
Step-by-Step Guide:
- Remove the legs (and arms, if any) from the chair. You will be working with just the seat and the back.
- Use a jigsaw to cut a large hole in the seat. Sand the edges.
- Cut foam to the same size and shape as the seat (including the hole). Glue the foam to the seat.
- Cut fabric to make a cover for the seat and foam and staple it in place. All staples need to be on the underside of the seat!
- Cut the 2”x8”s to the length of the seat (you can also ask the hardware store to do this for you) and attach them to the chair seat where the legs were. Make sure that there is a lip on the outside.
- If you want to create a neck piece, cut and glue pieces of foam to the desired shape and wrap with gaff tape.
3. Cantilever Chair
This project starts with a cantilever chair, which is engineered to support an adult’s body weight on a minimalist frame. This makes it ideal for repurposing as a queening stool.
We have not incorporated restraints into this chair, but you can easily add loops of rope or chain as attachment points.
However, if you do not already have a cantilever chair that you are willing to sacrifice, you should be aware that they run $250 and up (sometimes way up). You can buy a very high-end pre-built queening stool with this budget.
Materials Needed:
- Cantilever chair
- Sturdy board
- Foam
- Fabric (preferably washable and waterproof)
- Yoga mat or cushion
- Jigsaw
- Knife
- Adhesive (that won’t melt foam)
- Stapler and staples
- Long zip ties
Step-by-Step Guide:
- Remove the original seat from the cantilever chair. Trace the outline of the seat on the board, cut the board to size, and then cut it into a “u” shape to serve as the seat.
- Cut the foam to the size and shape of the board seat and attach it to the board.
- Create a cover from the fabric and staple it over the foam and the board (all staples should be on the underside of the seat).
- Attach the upholstered seat to the chair frame using zip ties.
- Place the yoga mat under the seat for the subject, and add pillows as needed until their head is at the appropriate angle.
4. Folding Face-Sitting Chair
This queening stool is designed to fold flat so that it can be stored away or transported easily. It’s an ideal choice for folks who live in small or shared spaces. It does not incorporate restraints, but you could easily add some eye bolts to serve as anchor points.
Materials Needed:
- 3/4” plywood
- Heavy-duty folding brackets
- Foam
- Fabric (preferably washable and waterproof)
- Jigsaw
- Knife
- Adhesive (that won’t melt foam)
- Stapler and staples
- Screws and screwdriver
- Paint if desired
Step-by-Step Guide:
- Cut three pieces of 3/4” plywood: two for the legs (11”x19”) and one for the seat (24”x19”). If either the queen or the subject is larger or smaller than average, you can adjust these dimensions accordingly.
- Cut the seat board into a “u” shape, ensuring that there is enough wood on each side for support and stability.
- Cut the foam to the size and shape of the board seat and attach it to the board.
- Create a cover from the fabric and staple it over the foam and the board (all staples should be on the underside of the seat).
- Paint the leg boards, if desired.
- Use the folding brackets and screws to fasten the legs to the bottom of the seat. The legs should lock into place when extended and fold flat for storage.
The Worst of What’s Out There
As we have emphasized, a queening stool needs to hold the weight of a full-grown adult, even when that adult is squirming or pressing down. Both partners could be injured if the stool fails.
We urge everyone to be safe and not sorry!
- Unstable Designs: Just like with homemade sex swings, stability is absolutely essential. Commercially produced sex gear is subject to extensive testing before it hits the market. Most of us do not have the facilities to produce and tear apart prototypes, but definitely put your DIY queening stool through as much abuse as you can before you play with it.
- Poor Finish: The queen’s most sensitive bits and the subject’s face and neck are in play here, so we need to be absolutely sure that the finish is smooth, soft, and secure. This is another area where BDSM gear manufacturers have an advantage — no product goes to market with staples and unfinished seams!
Why Is It Better to Buy Commercial Products?
We’ve said it throughout this article, but here it is again: it is better to buy commercial products because they are more reliable and therefore safer. This is the bottom line when the queen’s bottom and the subject’s head are at risk.
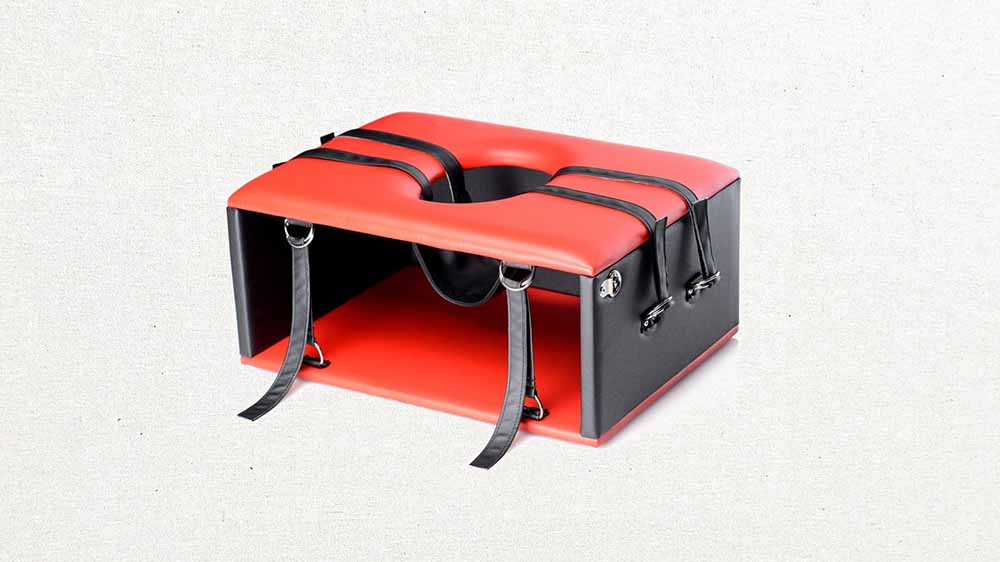
But if that is not enough (and why wouldn’t it be?):
- Design: Besides safety, good design is about comfort and aesthetics. Products produced by professionals have been drafted, tweaked, and engineered to please all the senses. They will be easier to use and more comfortable than an amateur first draft. As an example, the JimSupport Rim Chair is a master of simplicity, but every inch of it is geared towards exceptional pleasure.
- Materials: There is no question that manufacturers can purchase at scale and even commission the exact components that they want and need. They will have access to firmer foam, more suitable upholstery fabrics, and pieces that join seamlessly for a fit and finish that just can’t be accomplished by the vast majority of DIYers (including us!).
Maggie

- 10 Best Anal Sex Positions | For Straight & Same-Sex Couples - October 8, 2026
- 8 Best Pegging Positions For Beginners! - October 6, 2026
- The 9 Best Gay Sex Positions For People With Penises - October 1, 2026