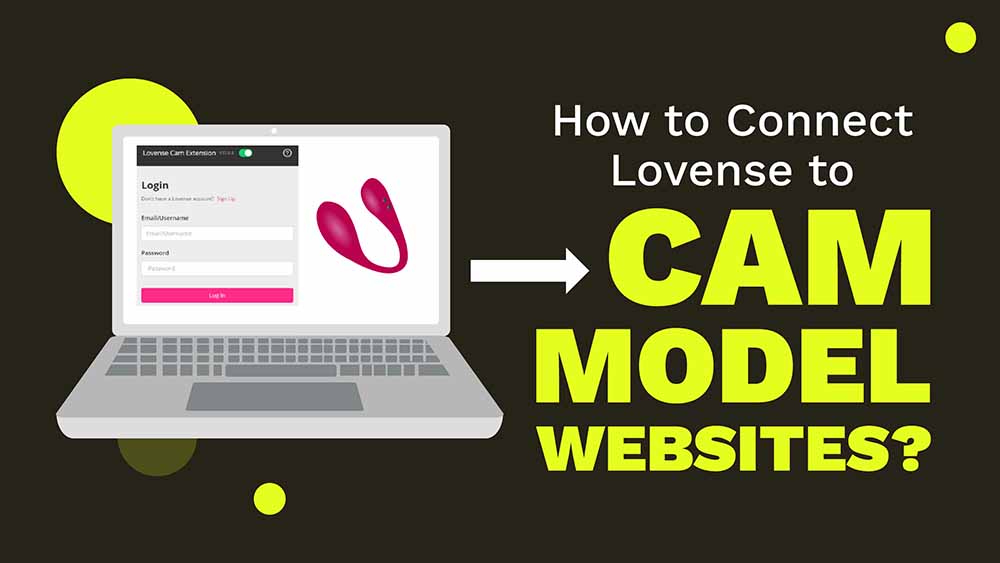
 Lovense is essential for cammers who want to offer their audience interactive content. The benefits are mainly twofold: Your viewers control your toy (giving them a more immersive experience), and you earn money with the tipping feature (Ka-ching!). In this article, we guide you through the process so you can start offering interactive shows and increase your earnings today!
- If you haven’t already, create a Lovense account on the official website. Download the Lovense Connect App to your device and connect the toy via Bluetooth (Use the Lovense USB Bluetooth adapter if you have a PC).
- Install the Lovense Cam Extension on your browser and link it to the app by logging in and selecting “Connect By Mobile” or “Connect By PC” in the extension settings. In the Connect App, scan the QR code in the “Account” tab to link the two.
- Customize your streaming preferences in the Cam Extension, then start streaming by clicking the “Stream” button. The Cam Extension helps you manage your toys, access supported streaming sites, and customize settings for a better streaming experience.
Table Of Contents
Step 1. Create A Lovense Account
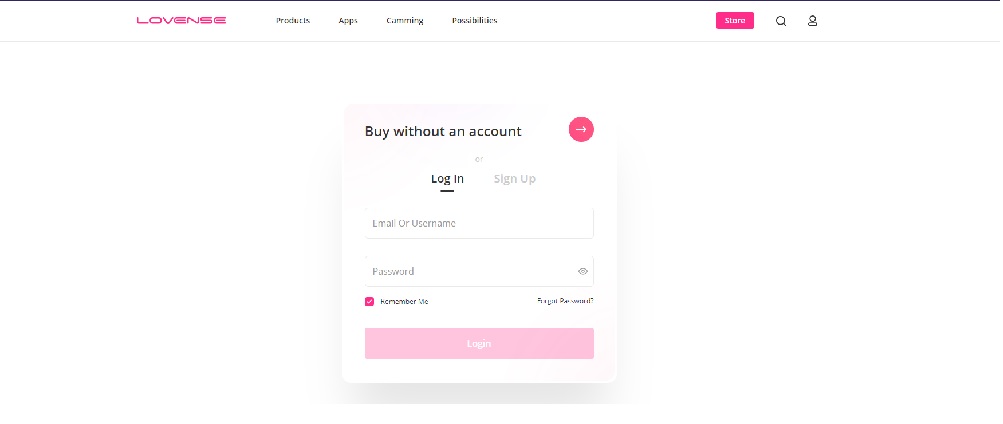
You should already have an account if you bought the toy from the official Lovense store. Jump to the end of this step if you did. Here’s how to create an account if you bought from a third-party retailer or checked out as a guest:
1. Go to the Lovense sign-up page which looks like the screenshot below. Select the “Sign Up” tab.
2. Enter your email and a strong password. I recommend writing it down or saving it in your browser’s password manager so you don’t forget it. Select the “sign up” button, and a prompt will ask you to verify your email. Press the button and go to your inbox. You should have an email that looks like this:
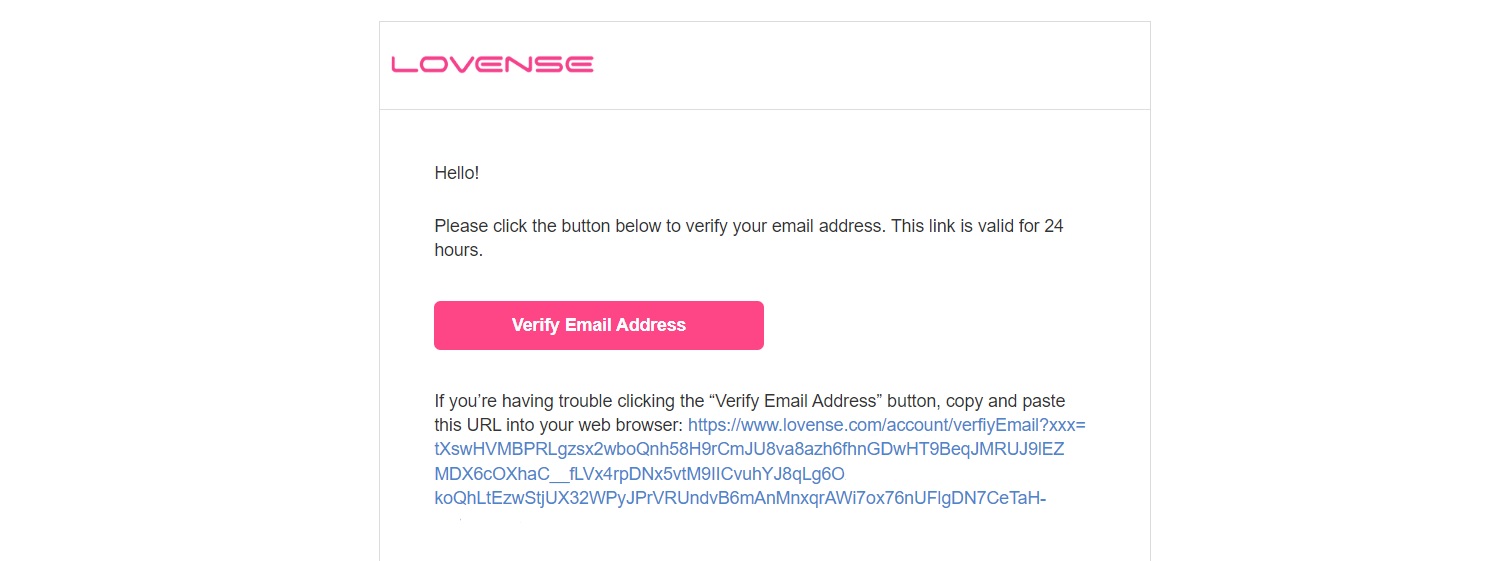
3. After clicking the button in the email, you should see a screen showing that your email has been verified. Congrats!
Next, you should decide whether to stream with your smartphone (Step 2) or desktop computer (Step 3). We generally recommend the latter because it’s easier to navigate through the settings, plus you can use a wired Ethernet cable, which reduces lag. But please use whatever equipment you have at your disposal.
Step 2. Streaming From A Phone
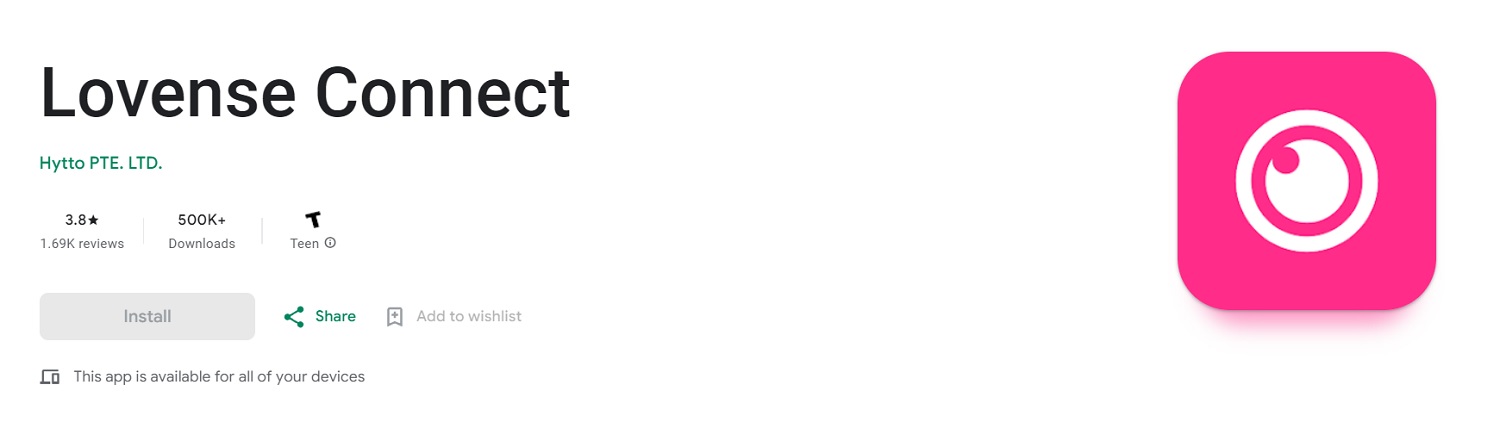
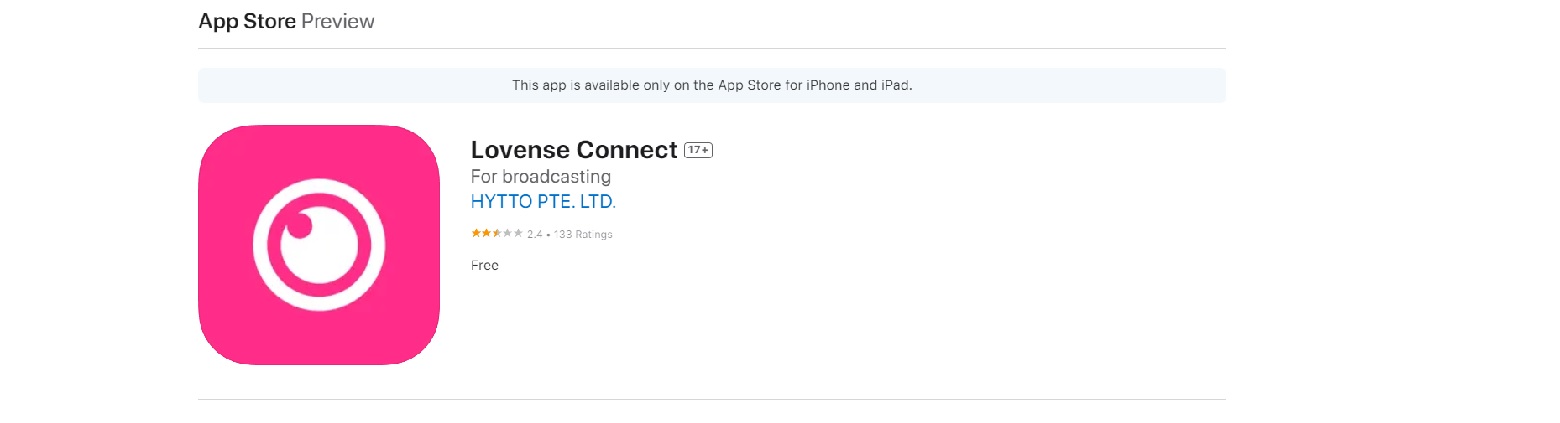
1. Search your app store for ‘Lovense Connect.’ Tap ‘Get’ or ‘Install’ to download and install it on your device. Remember, don’t mix it up with the ‘Lovense Remote’ app, which is for regular users.
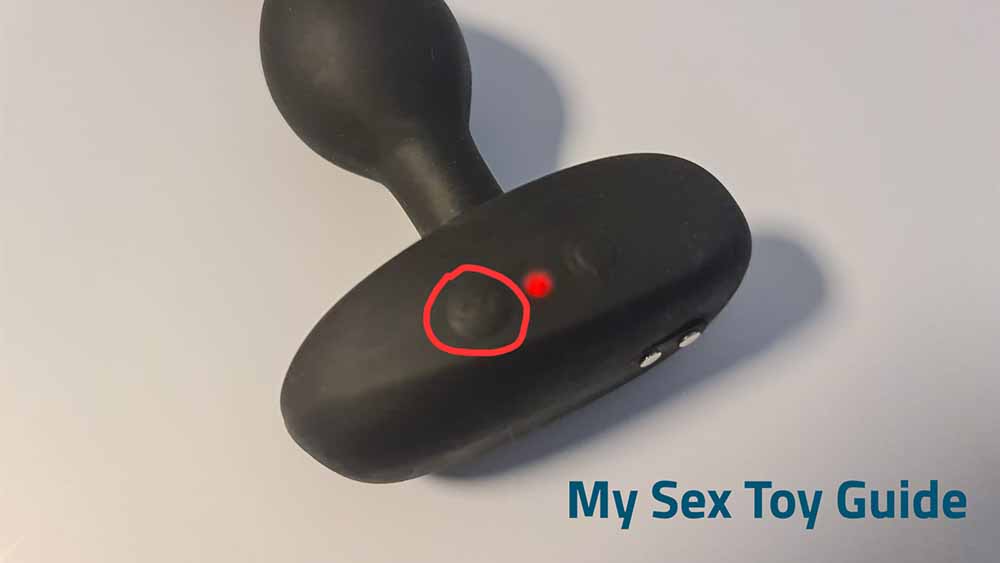
2. Now, you should pair your toy to the app. Please turn on your toy and put it in pairing mode. Most Lovense products enter pairing mode immediately after turning them on using the power button (Check the user manual if unsure). A red light should blink in pairing mode. You can see how it looks on my Ridge below:
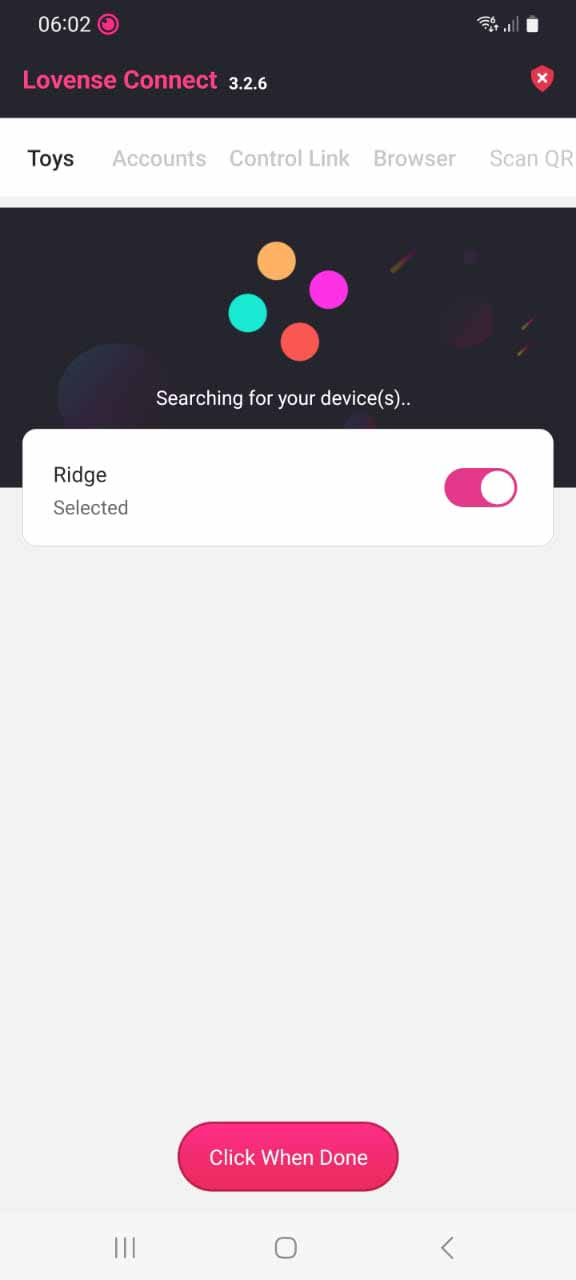
3. Open the Lovense app on your smartphone, go to the ‘Toys’ section, and choose ‘Add Toys.’ Follow the prompt and tap ‘Click When Done’ when your toy is displayed (screenshot below). The toy should emit a quick buzz once it’s connected.
If you’re having trouble connecting, ensure your phone’s Bluetooth is enabled and your toy and phone are near each other. You can also reset your toy by holding the power button for about 10 seconds before trying to pair it again.
Step 3. Streaming From A Desktop
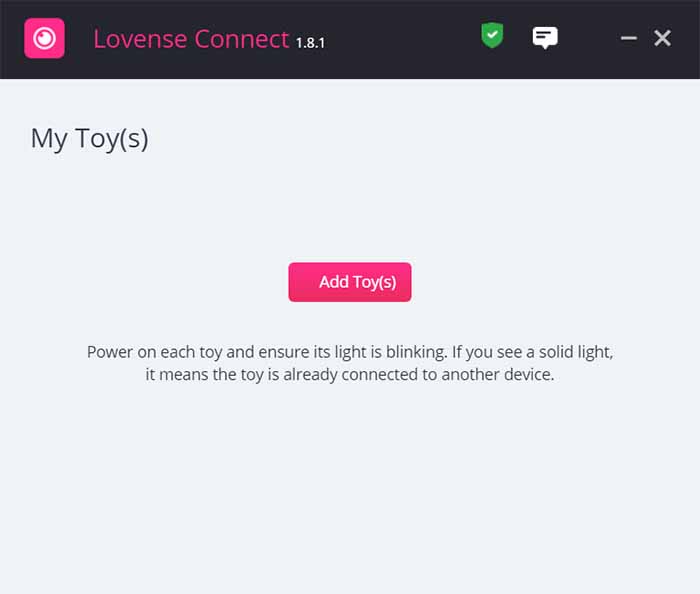
1. Download the Lovense Connect App from the official website. You should see a PC version and a Mac version. Select whichever is suitable for your case.
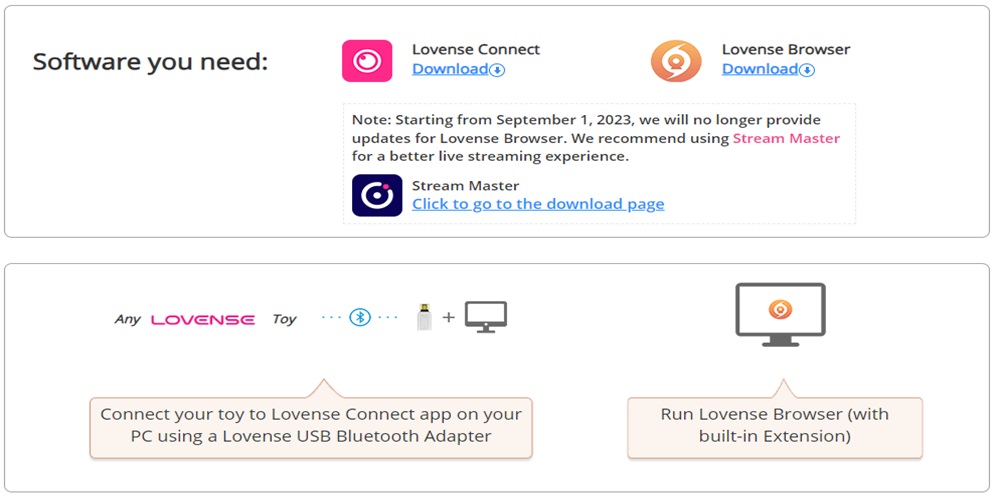
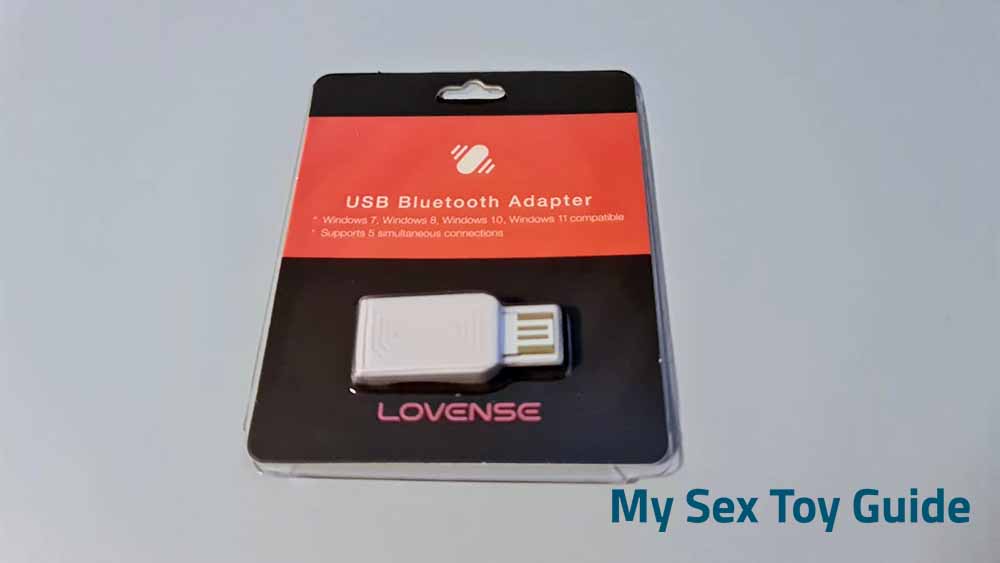
2. PC users must use the Lovense USB Bluetooth adapter (shown below), which you buy for $5 on the official website. Plug the adapter into an available USB port and ensure the little red light blinks. Mac users don’t need the adapter.
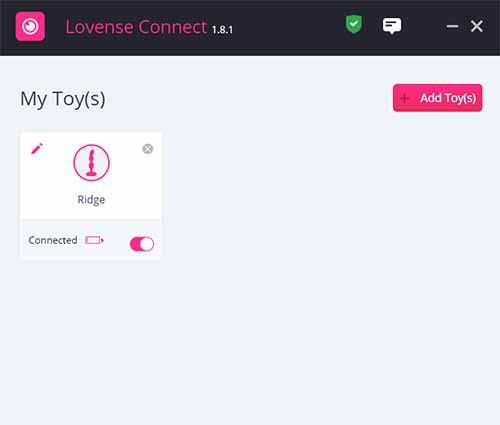
3. After downloading the app, double-click the installation bundle and follow the on-screen instructions. Pairing is pretty much the same as mobile, so I recommend reading the instructions above. However, the desktop interface looks slightly different (screenshot below):
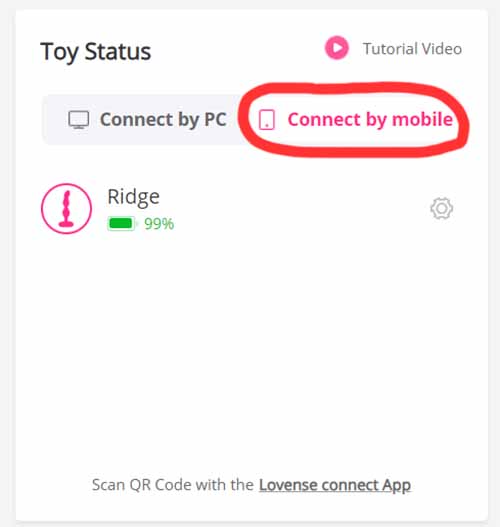
Note: After successfully connecting your toy, it should look like the image below. Once again, I’m using my Ridge as an example.
4. Use this link to download the Lovense Cam Extension. It will download as a zipped package. Once the download finishes, go to your download folder and find the zip file—double-click to unzip. You need a free tool like WinRAR for this step.
5. You should see a folder named “lovense_cam_3098.” Open your favorite browser (like Chrome) and click the three dots in the top right. Choose “Extensions” and then “Manage Extensions.”
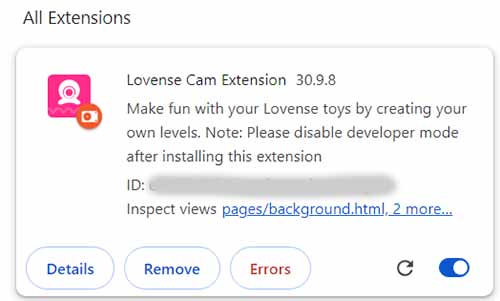
6. Enable Developer Mode by flipping the switch in the top right corner so it turns blue. Select “Load unpacked” on the left side and select the “lovense_cam_3098” folder. The extension is now installed and you should see it in your browser’s extensions. It should look like the screenshot below:
7. Finally, sign in to the browser extension using your Lovense account details. Click Settings and then “Connect By PC” on the right-hand side. The extensions should automatically add your toy to the list. Voila!
It’s a good idea to turn off Developer Mode by sliding the switch to the left so it’s greyed out. You can also pin the extension for quicker access using the small pin icon.
Step 4. Link The Connect App and Browser Extension
1. In the extension, click on Settings and select “Connect By Mobile” if you installed the Connect App on your phone (screenshot below). If you installed it on a desktop, select PC or Mac on the left-hand side.
2. Return to the Connect App and go to the “Account” tab. Select Scan QR code.
3. Use your phone to scan the QR code, which will link the two software. You should see the Cam extension in the Connect App, and your toy should be visible in the Cam Extension.
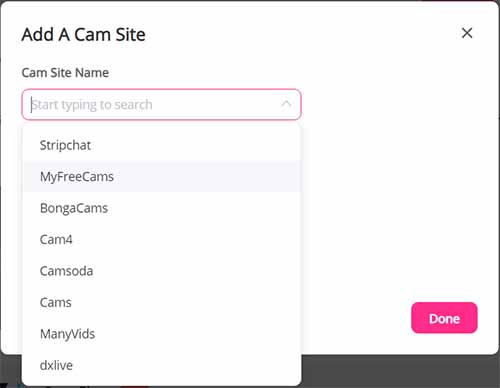
4 . Select “Add A New Cam Site” at the bottom of the Cam Extension screen. Here are some of the options you have:
5. After picking your preferred cam site, select “Use Lovense Recommended Settings” (unless you are comfortable setting it up yourself).
6. Now, everything should be set up for streaming. Click the “Stream” button to access your preferred cam website. Easy peasy!
Pro Tip: The Cam Extension has a user-friendly interface that lets you do many things. You can enable or disable the extension, check the paired toys and their status, access a list of supported streaming sites that can control Lovense toys, send a test tip to ensure everything’s set up right, and adjust basic level settings to suit your preferences.
Step 5. Set Up Your Broadcast Account
The setup differs depending on the cam site, so we recommend reading our dedicated guides that have a lot more details about each step:
Step 6. Configure Your Broadcast Settings
To start broadcasting on cam model sites, you must configure your settings properly. Here’s what you need to do:
Install Lovense OBS Toolset
- Download and install OBS Studio version 22.0.0 or later on your computer.
- Download the Lovense OBS Toolset plugin and install it.
- Open OBS Studio and verify the installation by checking for “Lovense Video Feedback” in the source list.
- Set up Lovense for OBS by adding “Video Capture Device” to the OBS sources section.
- Optimize Lovense configurations in OBS by adjusting vibration levels and using tips to control your toys during streams.
You can read more details on connecting Lovense to OBS in this extensive guide.
Configure Your Broadcasting Settings
You must properly configure your broadcasting settings to ensure your broadcast is smooth and high-quality. Here are some suggestions:
- Use a high-quality camera and microphone for your broadcast.
- Ensure your internet has a stable connection and is robust enough to support streaming.
- Choose a well-lit and clutter-free location for your broadcast.
- Test your broadcast before you go live to ensure everything works properly.
Following these steps, you can easily configure your Lovense settings for broadcasting and start streaming on webcam sites.
Sandra

Medium | Reddit
- What Is Pegging? Beginner’s Guide With Toy Recommendations - March 17, 2024
- How To Become A Sex Toy Tester | And Get Free Sex Toys! - March 11, 2024
- How to Use Sex Toys in a Wheelchair? 6 Tips From A Sexologist - February 26, 2024